So you’ve purchased a wireless mouse and you’re preparing for the first-time setup. How you connect your wireless mouse depends on which type of wireless mouse you purchased–a USB-RF mouse or a Bluetooth mouse.
RELATED: USB-RF vs. Bluetooth for Mice and Keyboards: Which Is Better?
Connect a USB-RF Mouse
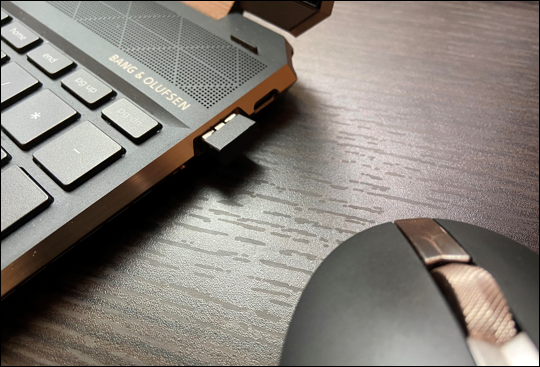
A USB-RF mouse connects to your Windows 11 PC via a dongle. In order to connect a USB-RF mouse to your PC, your PC will have to have an available USB-A port (if you don’t have any, consider expanding with a USB hub). The good news is Windows handles most of the setup process for you.
To get started, turn your mouse on. Each mouse is different, but there’s usually a small switch on the bottom of your mouse. After that, plug your mouse’s dongle into your PC’s USB-A port.
A toast message will appear at the bottom-right corner of your screen, telling you that Windows 11 is setting up your device for you.

A few seconds later you’ll get another message stating the setup process is complete. Your mouse is ready to use.
RELATED: The Best USB Hubs for PCs and Macs
Connect a Bluetooth Mouse
A Bluetooth mouse doesn’t require you to insert a dongle. The only requirement is that your Windows PC has Bluetooth capabilities, and most modern PCs do.
First, pop in the necessary batteries in your Bluetooth mouse and then flip the switch to the On position. Each mouse is different, so refer to your user manual for the required battery type and power switch location. Usually, though, it’ll be AA batteries and the switch is normally at the bottom of the mouse.
Next, you’ll need to turn on Bluetooth on your Windows 11 PC. You can do this by going to Settings > Bluetooth & Devices. Toggle the slider next to “Bluetooth” to the On position.
Conveniently, the next step of adding the device can be found right below the Bluetooth option. After enabling Bluetooth, click “Add Device” next to Devices.

The Add a Device window will appear. Click “Bluetooth” from the list of options.

Windows 11 will begin searching for devices. Select your mouse from the list.

Windows 11 will begin connecting to your mouse. After a few moments, your mouse will be ready to use.
Not every mouse is created equally. Some are better for gaming and productivity, while others are more ergonomic. You may even find yourself setting up multiple mice for your PC. And don’t forget about your mouse pad!